Pages

Showing posts with label Fashion. Show all posts

Tuesday, 5 August 2014

My take on Prezzo's Pollo E Spinaci Salad


For as long as I can remember, I've always been someone who is fairly health conscious and try to lead a well-balanced lifestyle as much as possible. Don’t get me wrong I do enjoy the odd treat, as long as everything is in moderation, but recently I've been trying to make healthier lifestyle choices, without having to cut out all that I love.

I'm quite a foodie at heart and love cooking and experimenting with different ingredients, as well as going out for meals. While it’s fine to eat out occasionally the thing that puts me off, is the fact that you don’t know exactly what has gone into your food. For this reason, I have been looking for healthier alternatives to some of my favourite restaurant dishes.

If you read my last post, you'll know that a few months ago I moved to sunny Spain! Now I don’t know if it’s the heat or simply the change in scenery, but since moving here I've been craving healthy food…salads in particular and lots of them! One salad that I've really missed, has got to be Prezzo's ‘Pollo E Spinaci’, one of my all-time faves! Although this dish is probably relatively healthy anyway, the beauty of home cooking is having control over what ingredients go into your food and no hidden nasties! I therefore decided to do my own take on this salad, with a couple of tweaks here and there.

The quantities used, I found to be the perfect amount for 3 adults, but you can obviously adjust this accordingly, depending on the number of people and your appetite!


For the salad you will need:

Ingredients:
Approximately ½ a bag of baby leaf spinach
1 punnet of field mushrooms
½ a red pepper
½ a yellow pepper
1 large chicken breast
1/3 cucumber
1 1/2 avocados
Handful of cherry tomatoes
Sprinkling of cooked quinoa

Honey Mustard Dressing:
80ml Extra virgin olive oil/coconut oil
160ml honey
40ml lemon juice
20ml Dijon style mustard
Pinch of salt

Instructions:

On the whole the preparation for this recipe can be done in any order, but the main thing to bare in mind, is that you want the peppers, mushroom and chicken to still be hot/warm when served.

1. For the first step I decided to wash and cut the peppers in 2 halves.  Next remove the core and seeds, slice into thin strips and set to one side.


2. Wash and cut the ends off the mushrooms. As I was using small field mushrooms, I chose to slice them in half, but you can adjust this depending on the size of the mushrooms and your preferences. Again set to one side.


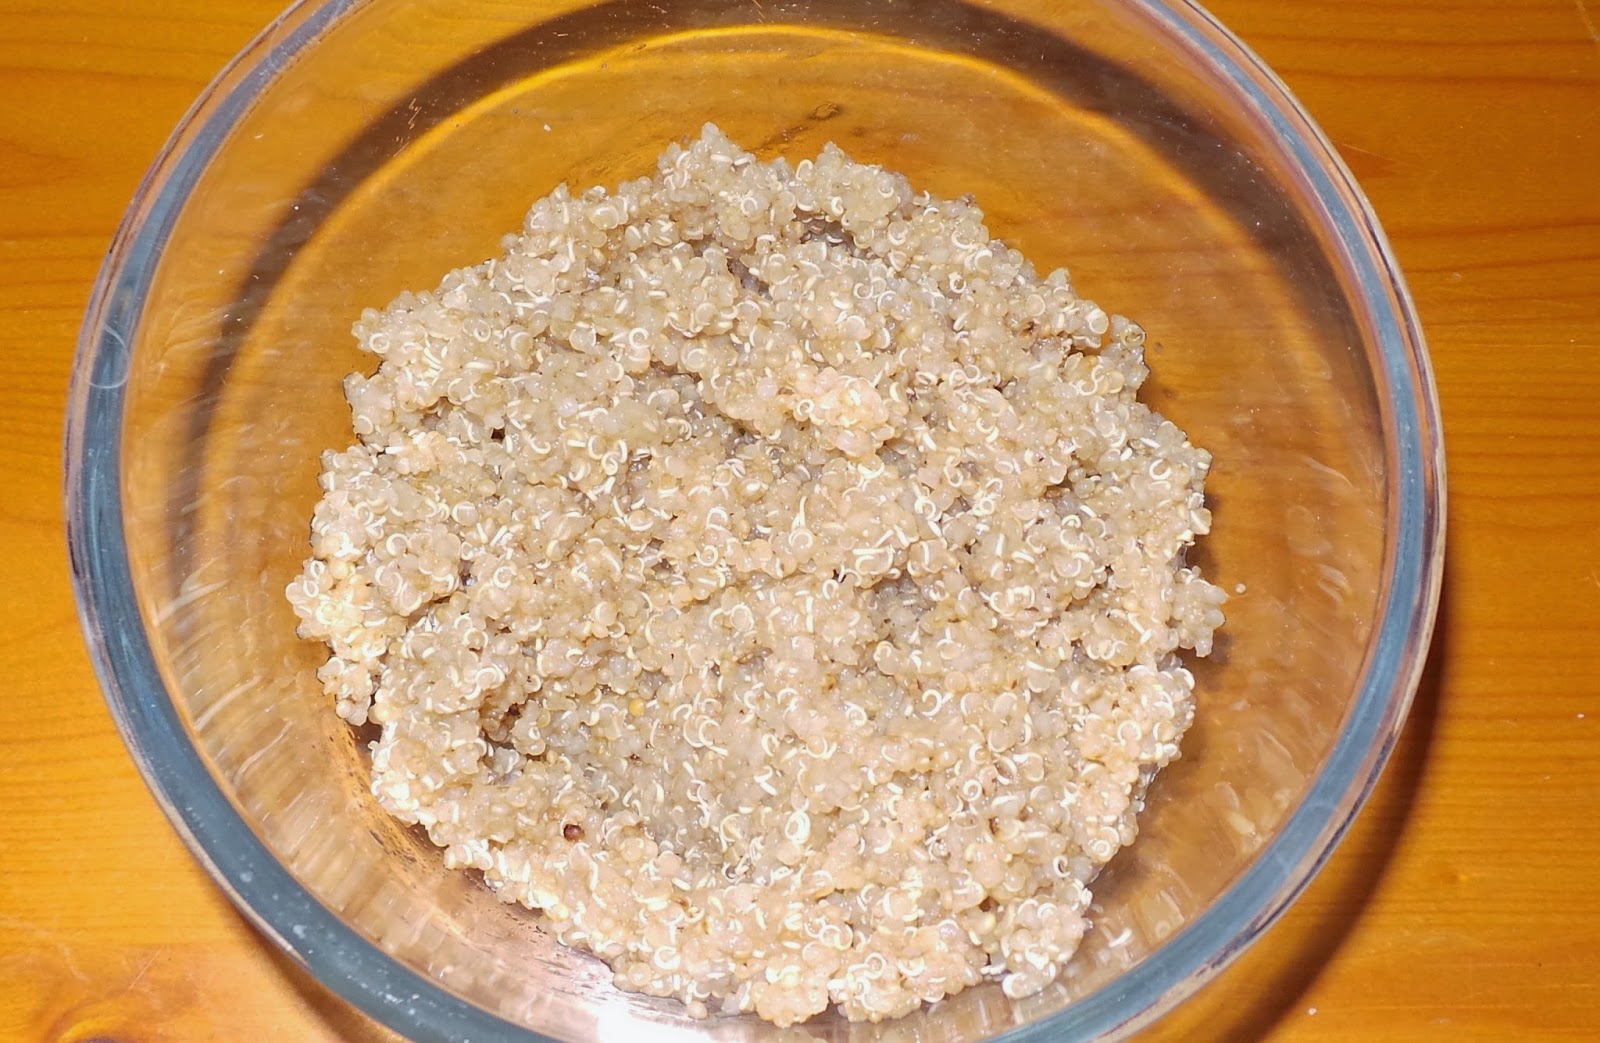
3. Although the Prezzo salad doesn't contain quinoa, I chose to include it in my recipe for the added health benefits and protein.  Make sure to rinse the quinoa thoroughly and following the cooking instructions on the side of the packet, mine took approximately 20 mins to cook. Once cooked, drain and leave to cool. 


As you only need a sprinkling of quinoa in the salad you don't need to cook a lot, bare in mind that it expands in size quite generously after being cooked. As you can see, I made too much, on the plus side I had some left over for lunch the next day!


4. At this point I decided to make the honey mustard dressing. Now obviously you can buy this ready made in the shops, but as I was going for the healthier option, I decided to make it myself. The dressing was so easy to make and only contained 5 ingredients: Extra virgin olive oil/coconut oil, honey, lemon juice, pinch of salt and Dijon style mustard.  Place all the ingredients in a small bowl and mix until combined...it really is that simple! 

5. The next step is time to prepare the chicken.  I have to say this is the part I dread the most...it's just something about touching raw meat! In fact this is part of the reason I like cooking vegetarian meals the best. You can choose to cut the chicken however you like, it really is down to personal preference, but I chose to slice it into small strips as I found it cooks quickly this way. After doing this place the chicken in a large bowl drizzle with a little sunflower/olive oil making sure all the chicken is covered and season with salt and pepper.


5. Place a griddle pan over medium heat. Once hot, place the chicken strips in the pan and cook for approximately 2 mins each side until they have a chargrilled effect on the outside and are no longer pink when cut in the middle (again you may need to adjust this depending on the size of your chicken pieces).


6. In the meantime place the mushrooms and peppers in a pan and lightly fry until slightly wilted.


7. Prepare the bed for the chicken by lining a bowl with spinach leaves. Next halve the cherry tomatoes, slice the cucumber and avocado and mix into the leaves.


8. Once cooked top with the char-grilled chicken, peppers, mushrooms, a sprinkling of quinoa and drizzle a little honey mustard dressing over the top. As I was cooking this for family I also decided to add a side of home made garlic bread, but I enjoy the salad just as much on its own.


Sunday, 9 March 2014

Bath Collective Shopping Haul

If a little late, but nevertheless as promised...the time has come for me to share the items I bought, on my shopping trip to Bath. If you've not already done so, you can read all about the trip here.


The first shop we visited, was one of my favourite clothes stores...H&M. It’s one of those shops, that offers clothes which are on trend and also reasonably priced, so no matter how hard I try, I always end up coming away with something! On this occasion, I also had a gift card to use up, so it was almost inevitable that I would not be leaving empty handed!


The first thing I picked up, was this lovely charcoal grey jumper.  The slightly more unusual colour and zip detailing on the back added a nice touch and convinced me to try it on. As you can hopefully see from the picture, it’s a soft knitted design, which is quite loose fitting and made from 100% cotton. I bought it in a size S for £14.99 and think it will be perfect, paired with a pair of skinny jeans/jeggings for a casual daytime look.


Next I clocked eyes on this pair of super slim navy blue jeggings. I’d been after another pair for a while, as they’re just so comfy yet really versatile! These ones felt really nice quality, made from lovely soft, figure hugging fabric with gold hardware, and they fit perfectly! I was even more shocked when I saw the price tag of £12.99...an absolute steal!


The final clothing item I got in H&M was this top for £12.99. The main body is made from opaque black material, with a sweetheart neckline, while the sleeves are sheer with velvety polka dots.  Again I thought this top was quite versatile, as it could be combined with a pair of jeans for the daytime or tucked into a skirt, for a more dressed up evening look.


I also picked up this silver stacked necklace for £5.99.  I love the delicate tiered design of the 3 chains, each with a different symbol.

The Next place we visited was Topshop.  Again, another of my favourite clothes shops, although sometimes a little pricey!


The first thing I spotted was this little gem! A small and enchanting teal coloured handbag with gold hardware.  The bag is fairly matte and feels really well made.  It has an embossed snake skin pattern with a long detachable shoulder strap, meaning it can also be used as a clutch bag.  But the best bit…it had been reduced from £28 down to £10...what’s not to love!


I’d had my eye on this playsuit for quite a while but at £48 it was definitely not the cheapest item.  However after much deliberation, I finally caved and bought it. It’s made from a silky light weight black fabric,with large pink and coral flowers, making it perfect for the summer months, especially if you’re going abroad!  In fact it would also be great in slightly cooler weather, teamed with tights, boots and a leather jacket.


The black lace detailing on the back also makes it a great evening piece which could be worn with heels. I'm sure I will be getting a lot of wear out of this, over the coming months!


Last but by no means least, we had to pop into Cath Kidston with the intention of just having a browse! However this soon turned into another purchase, this time a beautiful makeup/wash bag.  The bag is from the Nottinghill Rose collection, a pretty baby blue colour, scattered with pink, blue and yellow roses.  I also got a little key ring with a white background and multi-coloured flowers.  The bag was £12 and the keyring £4.99.

And there we have it…a collective haul of all my purchases in Bath!

Although it seems like I spent a fair amount of money, I did have a couple of gift cards, which definitely helped! 

I should probably be trying to save, but you know what they say ‘we only live once’, so we might as well enjoy it…right? Well that’s my excuse anyway!

What are you’re favourite places to shop?


Have you bought anything nice recently?

xxx

Tuesday, 11 February 2014

Valentine's Day Nail Art


So, it’s been a little while since my last blog post and with Valentine’s Day just around the corner, I thought it was the perfect opportunity to do a tutorial for the valentine inspired nail art I posted on Instagram(@CarolinaCornell).     


I guess I could say, I am somewhat addicted to buying sparkly new nail varnishes. When it comes to painting my nails, I love to experiment with all kinds of colours, patterns and effects - from high gloss brights, glistening glitters through to cool pastels and nudes, I just love them all and have acquired quite a collection over the past few years. I just love how a simple sweep of colour, or a more intricate design can create a real style statement and add a pop of colour to even the most ordinary of outfits.


For this design you will need a selection of 4-5 colours, a striper pen, a dotting tool and/or a cocktail stick.

Starting from left to right, I used the following:

Barry M Gelly High Shine Nail Paint - in Pomegranate (A deep glossy pink)
Essie - Fiji (A lovely, very pale pink)
Barry M Gelly High Shine Nail Paint - in Grapefruit (A bright corally pink)
Maybeline Express Finish 40 - clear base coat
Sinful Colours in Rise and Shine (A deep forest green with a slight shimmer running through it)
Barry M Instant Nail Effects -  in Gold Foil
A gold striper pen (From Primark)


To create this design start by painting all of your nails with a clear base coat.  This helps to protect your nails and minimise staining.


Next choose a pale base colour and apply 2 coats to all of your nails. Make sure to wait a few minutes until they have dried completely, before moving on to the next step. I chose to use a pale pink by Essie in the colour Fiji.  I found that using a pale colour, really helped to make the design stand out and appear more vibrant.


This next step is where all the fun begins! Use a medium sized dotting tool and a gold nail polish to create two small dots on your thumb nail. Drag the dots in a downward motion and at a slight diagonal, until they meet in the middle to form a heart shape. Once this has dried, you can then use the same technique to create smaller pink hearts inside and in any spaces in between. (Whilst I waited for the gold to dry, I moved on to the other nails and came back to the thumb at the end).

 (Excuse the nail varnish on my fingers...it can get a bit messy   at times!)


On your pointer finger, use a gold striper to paint 4 diagonal lines (2 in one direction and 2 in the other, as illustrated above). Next use a cocktail stick dipped into a colour of your choice, to create small roses. I used Barry M's pomegranate and grapefruit to draw alternating small curved lines, forming little roses in between the gold lines. 


On Your middle finger, create one large pink heart in the centre of the nail, using the same technique as that used for the thumb nail(Make 2 dots and drag them down to meet in the middle. The colour I chose to use for the heart was Barry M - Grapefruit. Once the heart has dried you can either leave it plain, or get even more creative and fill the space inside with a pattern. I used a dotting tool to add a few polka dots and create a more eye catching design.


For the ring finger I created a single large rose, using Barry M- Pomegranate. To do this start in the centre of the nail and paint a small,curved line. Following this paint several more curved lines around the centre line. This doesn't have to be too neat, as any irregularities makes for more realistic looking petals. 


Finally finish this nail with a scattering of green leaves, painted around the rose. I used Sinful Colours - Rise and Shine.


For the final nail design on your 'pinkie' finger use a striper in the colour of your choice. I used a gold one from Primark, to create 3 horizontal lines.  


Finish this off with a little heart in the corner of the 3rd line, again using the same technique as mentioned previously.  


And that's it a cute and pretty design, perfect for Valentines day!  

I hope you enjoyed reading this post and if anyone does decide to have a go, I would love to see your recreations! Feel free to leave a link below or use the tag #carolinanails1 on instagram. 
Bye for now xx